Importing and Sync
Importing statement files
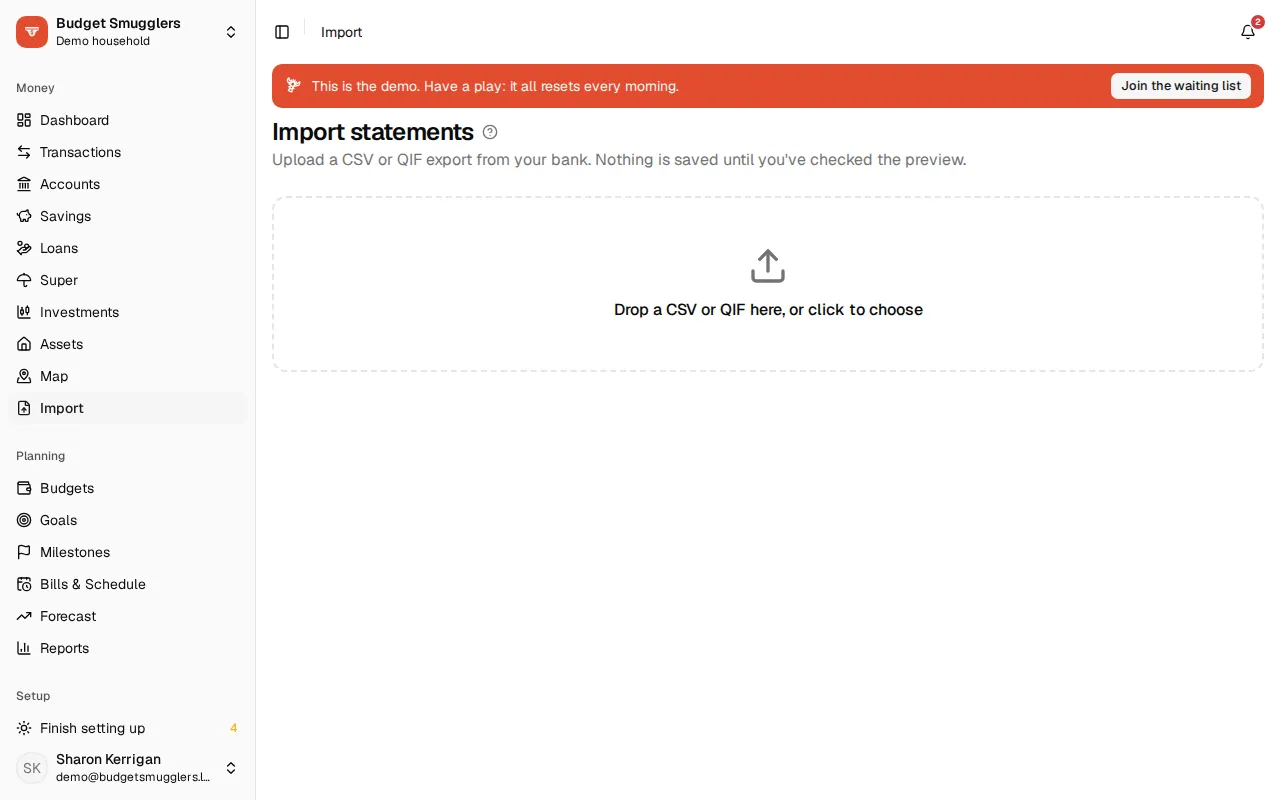
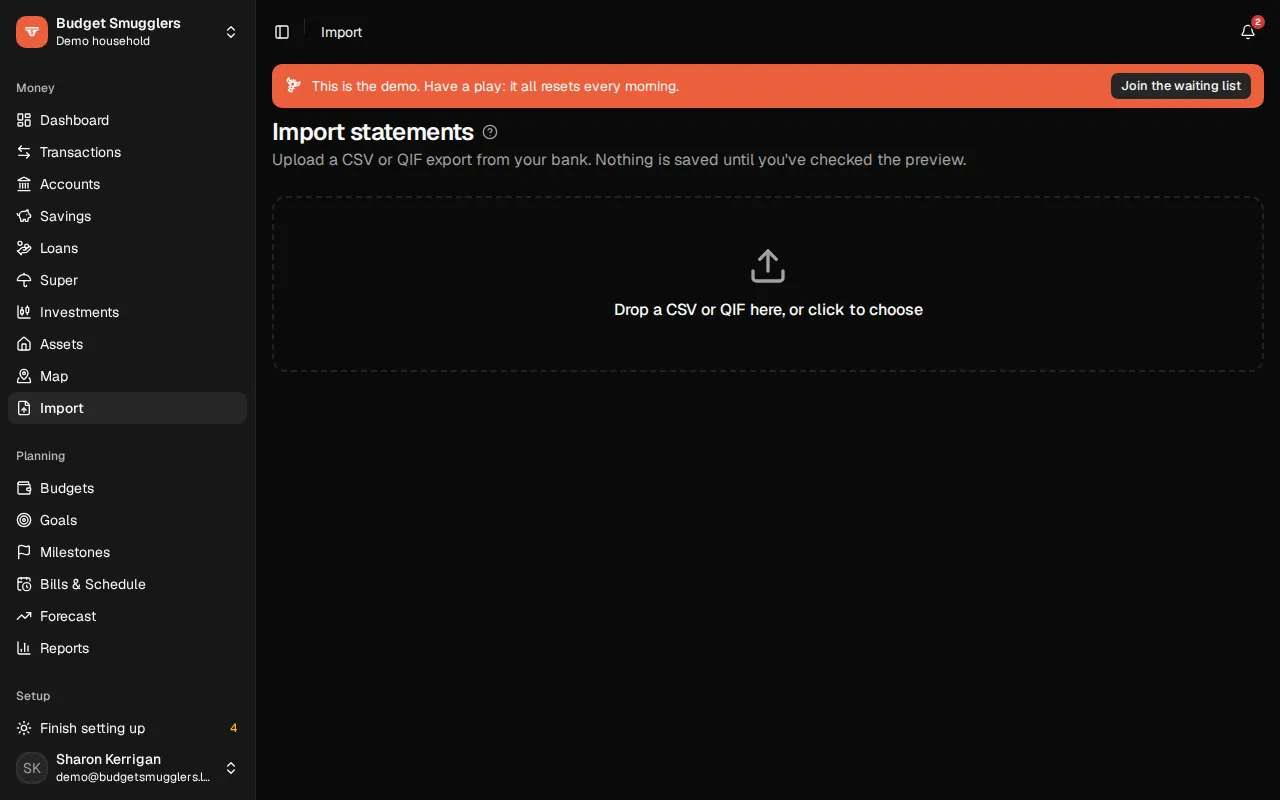
Upload a CSV or QIF export from your bank, check the preview, and import. Duplicates are skipped and you can undo an import.
Export your transactions from your bank’s website, then drop the file onto the Import page. Nothing is saved until you’ve checked the preview.
If you’d rather not download files by hand, the Sync extension does the exporting and uploading for you.
Supported files#
- CSV, from any bank. Known formats are read straight away. Anything else you match up once (see Column mapping).
- QIF (Quicken Interchange Format). It doesn’t need a column mapping. QIF dates come in many orders, so the day and month order is worked out across the whole file, and your pool’s locale settles a tie.
Files can be up to 10 MB. If yours is bigger, export a shorter date range.
Formats it knows#
These banks’ CSV exports are recognised without any setup:
| Bank | Notes |
|---|---|
| Macquarie Bank | One file can hold several accounts. Pending transactions are marked. |
| American Express | Several cards can share one file. |
| ING Australia | Beta |
| NAB | Beta |
| Westpac | Beta. One file can hold several accounts. |
| CommBank | Beta |
| ANZ | Beta |
| CommSec cash account | Beta |
The beta formats are based on each bank’s published layout. When one is used, the preview asks you to check the dates and amounts look right.
Importing a file#
- Open Import and drop the file on the box, or click it to choose one.
- If the format isn’t known, match up the columns (below).
- Under Which account?, pick the account the rows go into. If it doesn’t exist yet, click Create to make it from the name in the file.
- Check the preview, then click Import with the number of transactions.
Once it’s in, the new transactions are categorised and transfers between your accounts are matched. The confirmation says how many.
The preview sorts rows into tabs:
- New: will be added.
- Settles pending: replaces a pending transaction that has now cleared.
- Already imported: a duplicate, skipped.
- No account: the row’s account isn’t picked yet.
- Problem: the row can’t be read (a bad date, say). It’s skipped.
Column mapping#
When a CSV isn’t in a format Budget Smugglers knows, it asks Which column is which? and shows the first few rows. Pick:
- Date, and the Date format (or leave it on Work it out).
- Amounts are in: one column where negative is spending, one column where positive is spending (like most credit cards), or separate debit and credit columns.
- Description. Tick more than one column to join them together.
- Balance, Payee / merchant and Account name if the file has them. Account name is for exports that cover several accounts.
- Decimal separator, if your bank writes amounts like
1.234,56.
Fill in Remember as (say, “Credit union”) and the next file with the same columns is read the same way. Then click Preview transactions.
To fix a known format that’s read wrong, open Change column mapping above the preview.
Matching accounts#
A file that names its account on each row (Macquarie or Westpac, for example) is matched to your accounts by name. Set Name in bank exports on an account under Accounts and those rows go into it every time. When you pick an account for a name in the preview, that name is remembered too.
Duplicates and pending transactions#
Overlapping date ranges are fine. Each row is checked against what’s already in the account, and anything already there is skipped. Two identical purchases on the same day in one file are kept apart.
- Same file twice. You’ll see a warning that the exact file was imported before. Every row comes up as a duplicate.
- Different format. A QIF over the top of a CSV of the same account describes things differently. Rows with the same account, date and amount as one from another format count as duplicates.
- Pending transactions. When a pending transaction clears, the settled row replaces it. That works even if the description changed, as long as the account and amount match and it settled within a few days.
Undoing an import#
Open the import from Recent imports on the Import page and click Undo import. Every transaction it added is removed. You can import the file again later.
Imports that haven’t gone in yet sit under Needs attention. Click Finish to carry on, or Discard to throw one away.